
Hello! If you are a pianist who has wondered if you could tackle the organ but feel intimidated, this course is for you! You can totally do this! I am not teaching you all the organ techniques- that would take a LOT longer… This is a crash course on organ for those who need to be up and running quickly. I am a member of the Church of Jesus Christ of Latter-Day Saints so I will be using the hymnbook from our church and the format of our meetings. If you’re not a member of our church, there is a lot to glean here! But it will be specifically tailored to those playing organ at our church meetings. This will be most useful to you if you follow along and pause when trying the activities mentioned. Click on the video below to begin!
Here is a demonstration of “spider fingers”- you’ll notice that not EVERY note connects, but I’m aiming to make a smooth sound, and that requires me to move around on the keys differently than I do on the piano. It is more intuitive than you’d guess!
Once you have experimented with playing a hymn at home with spider fingers, you’re ready to try out the organ! Woohoo!
Here is a picture of the organ I play on most often:
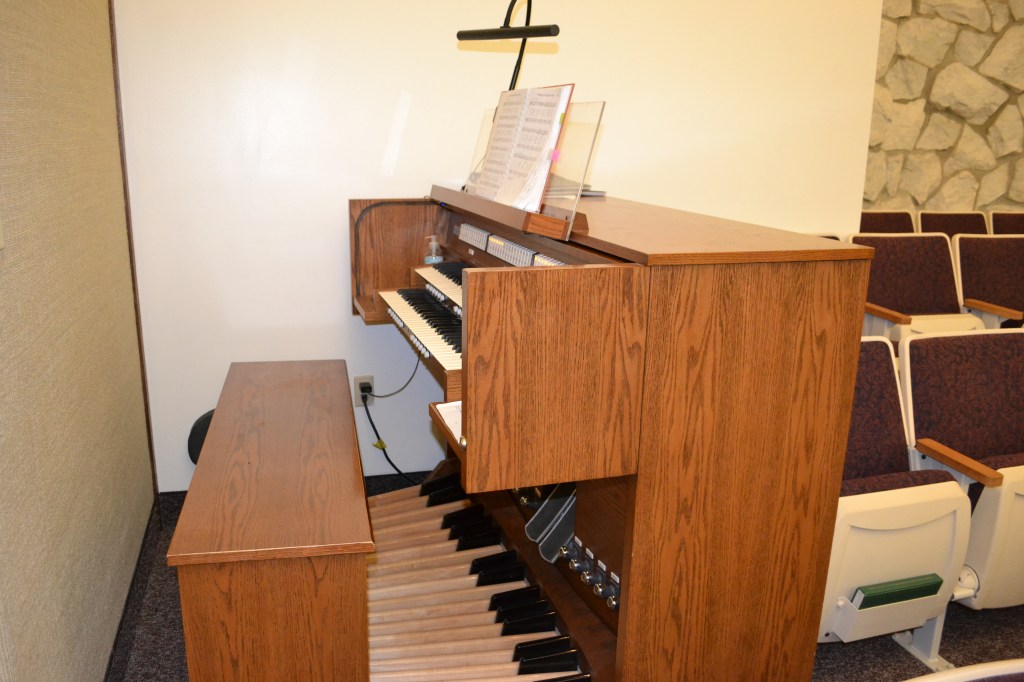
Here are some thought about accessing the organ and looking at it for the first time. Don’t play anything yet- I’ll walk you through that in a minute!

As we begin, focus on playing on the lower keyboard. It looks just like a piano! It will feel less intimidating!
Ready to try this awesome instrument out?! Great!
Step 1- Take off your shoes! Make sure you’re wearing socks, or nylons, or tights- something other than bare feet and no street shoes. Did you know there’s such thing as organ shoes? If you have them, use those!
Now it’s okay to touch the foot pedals. Sit on the bench, lean over to the far left side of the organ, and Step 2- turn it on (using the power button):

If you try playing on the keyboards, you’ll realize that they still won’t work!
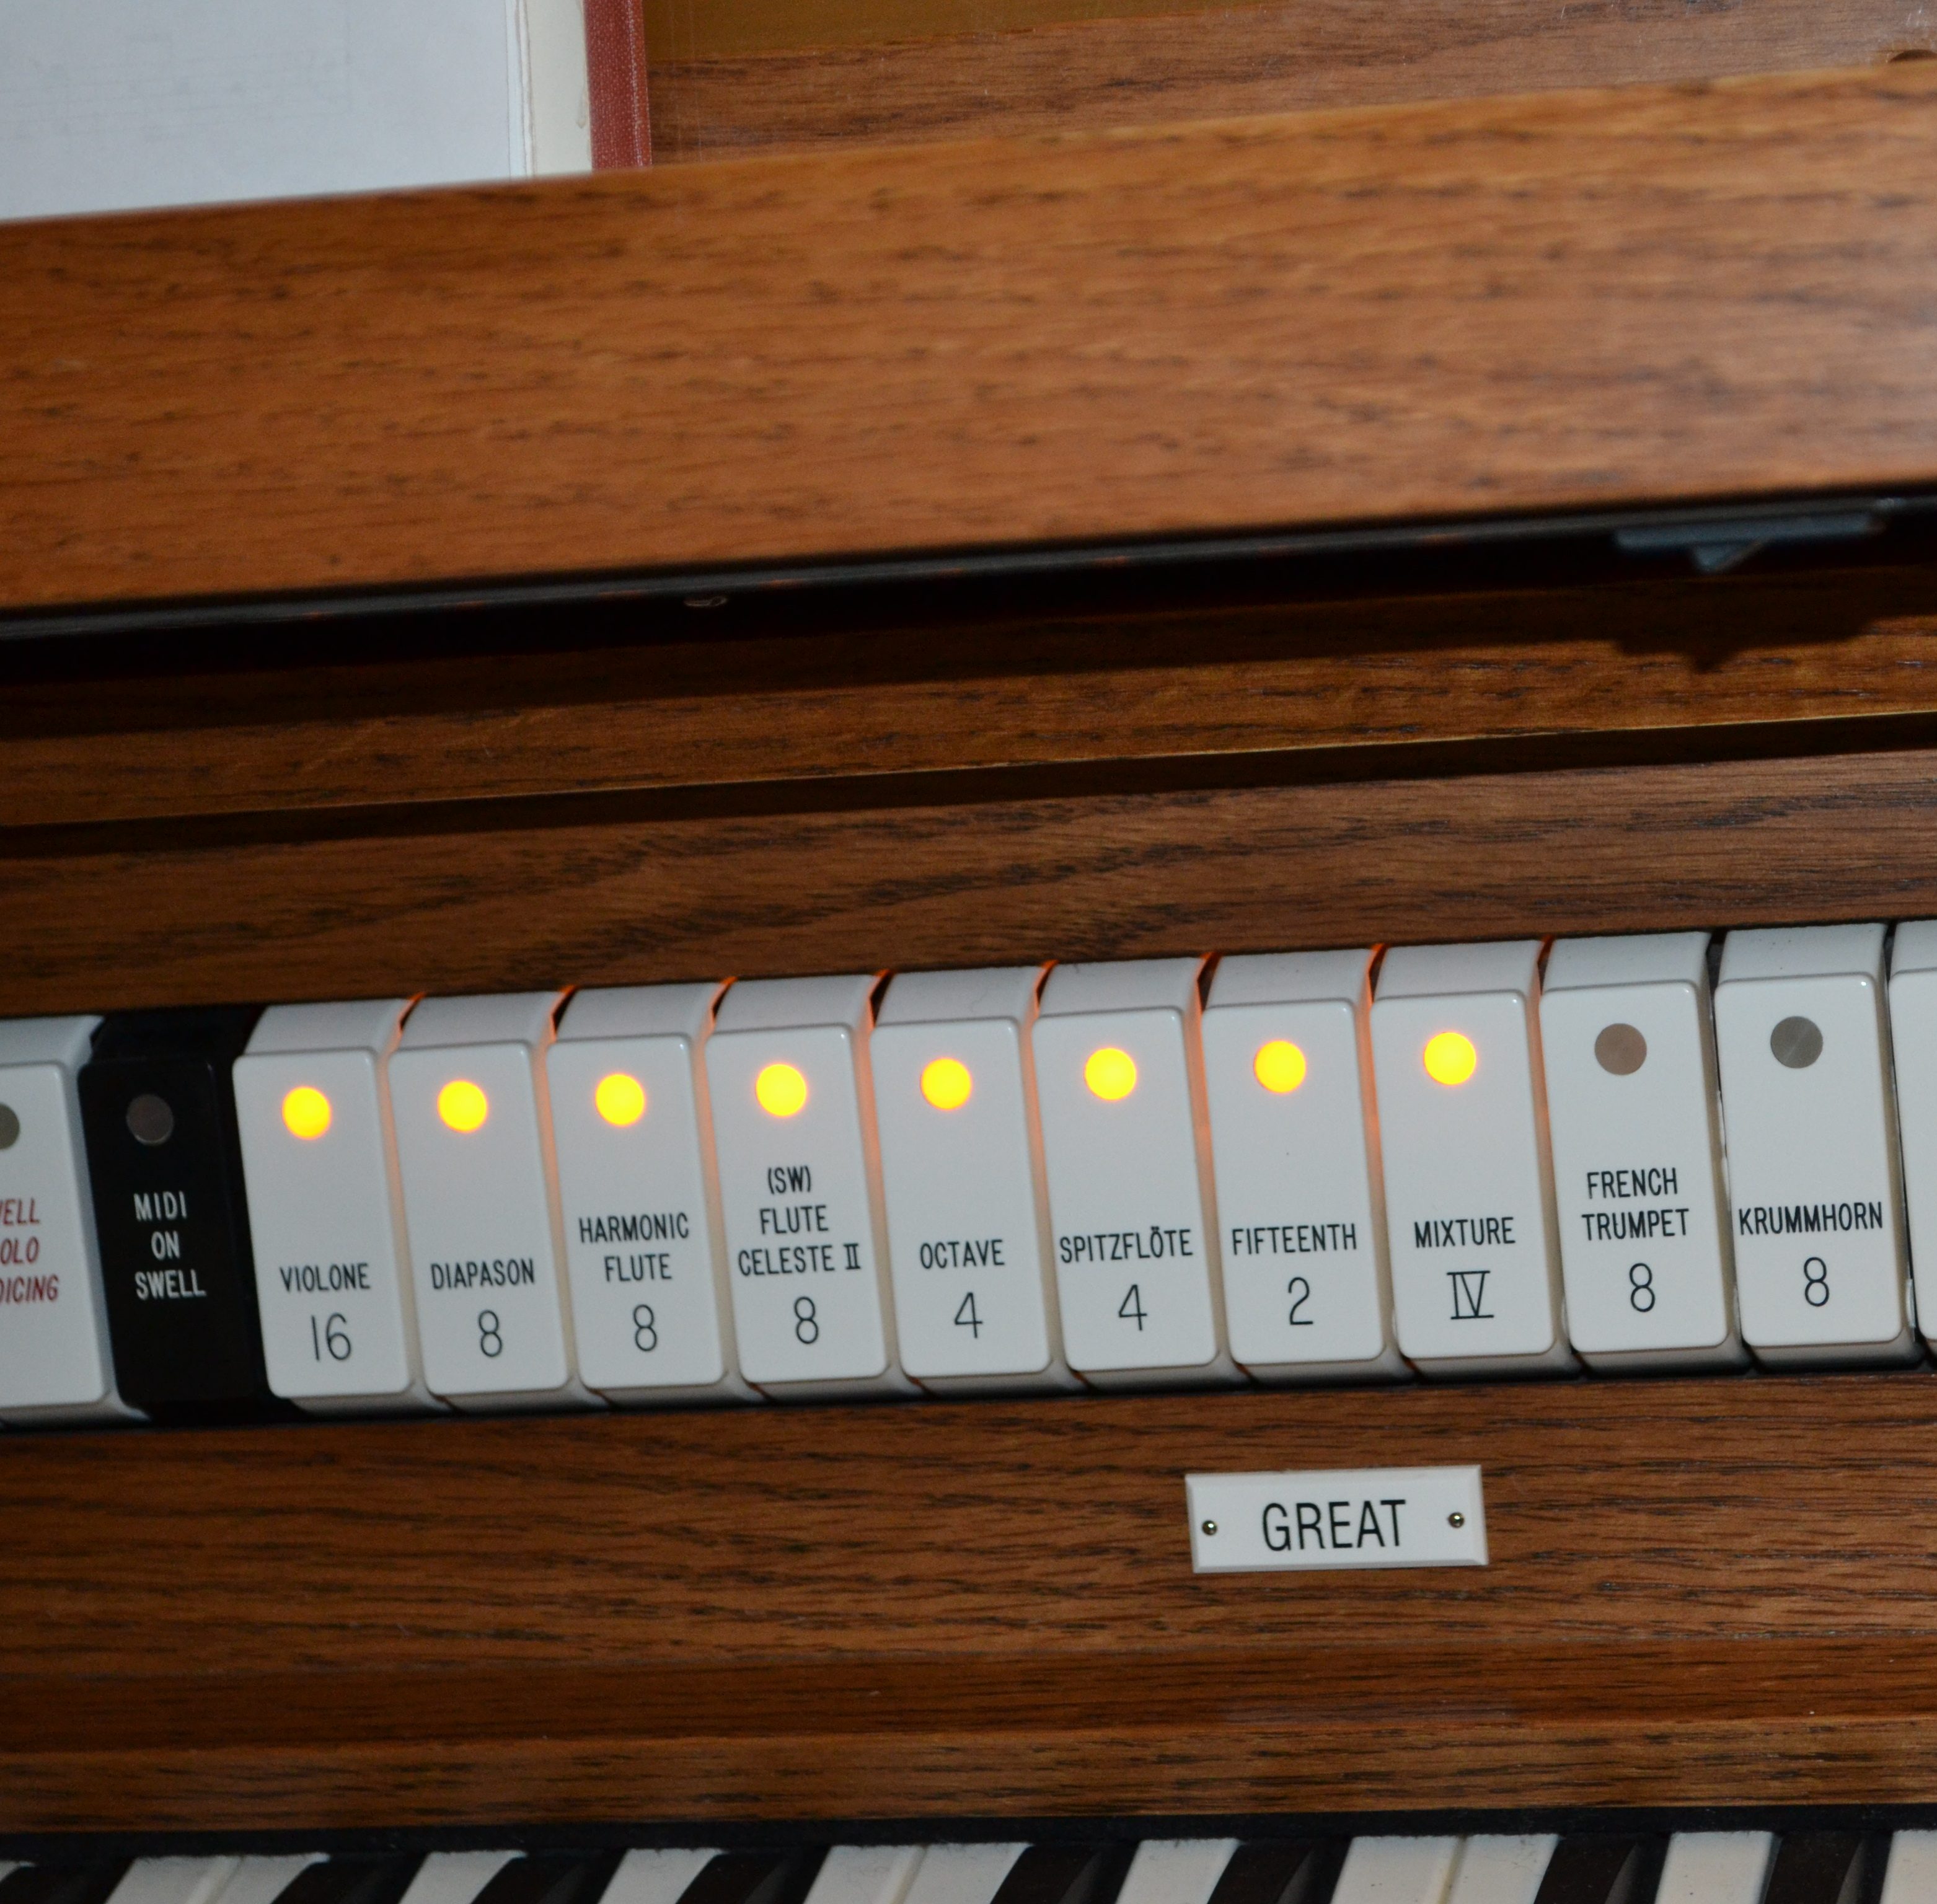
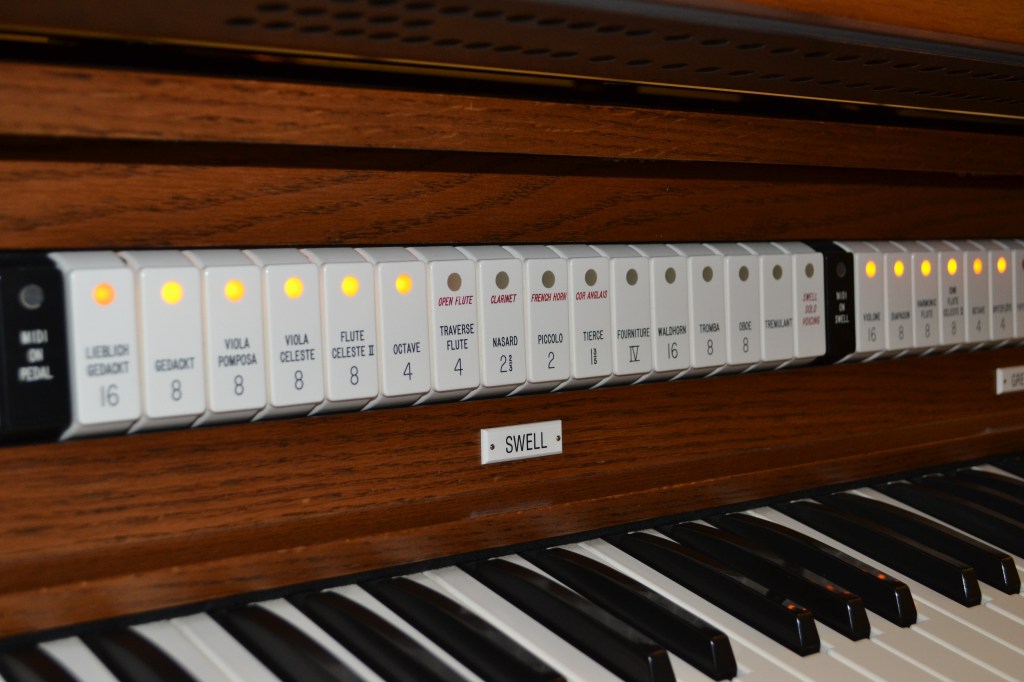
Step 3: You need to push some buttons! Specifically, look for a panel above the higher keyboard that says “Great.” The lower keyboard you’ll be playing on most often is called the “Great” keyboard. You need to “set the organ” in order to make any sounds. Press any one of the buttons on that panel and your keyboard will now make sound. Probably. If it makes some sound, awesome, play around with different combinations (hint: push a second time to turn that selection off).
Step 4: If your organ still isn’t making a sound, we need to introduce you to the volume setting- which you need to know about anyway! So whether you need it now or later, here’s a quick intro to the volume controls:
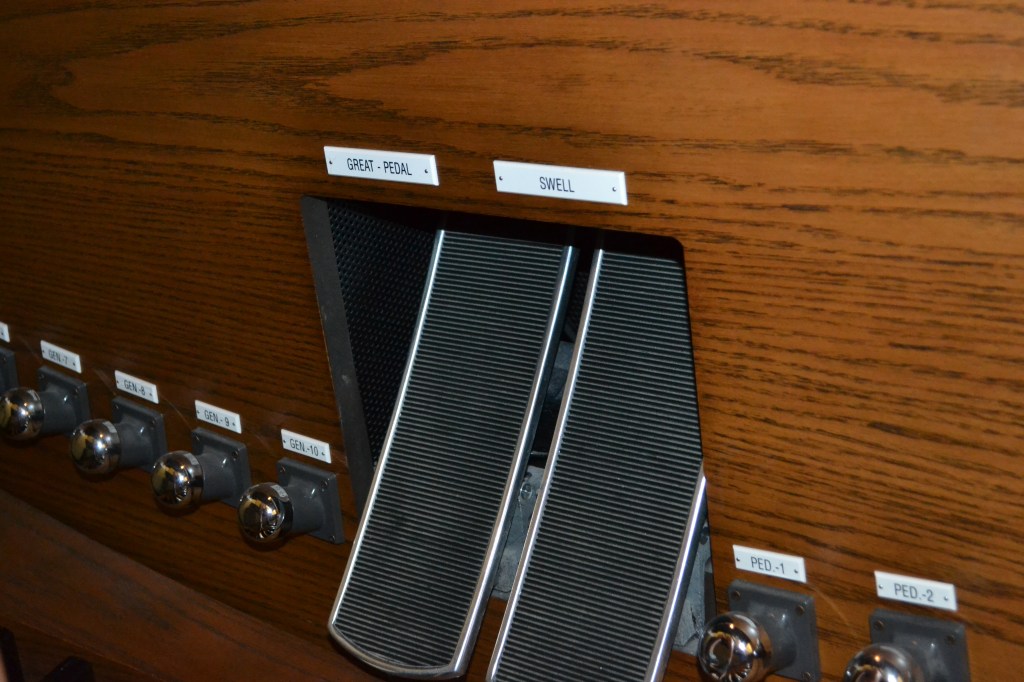
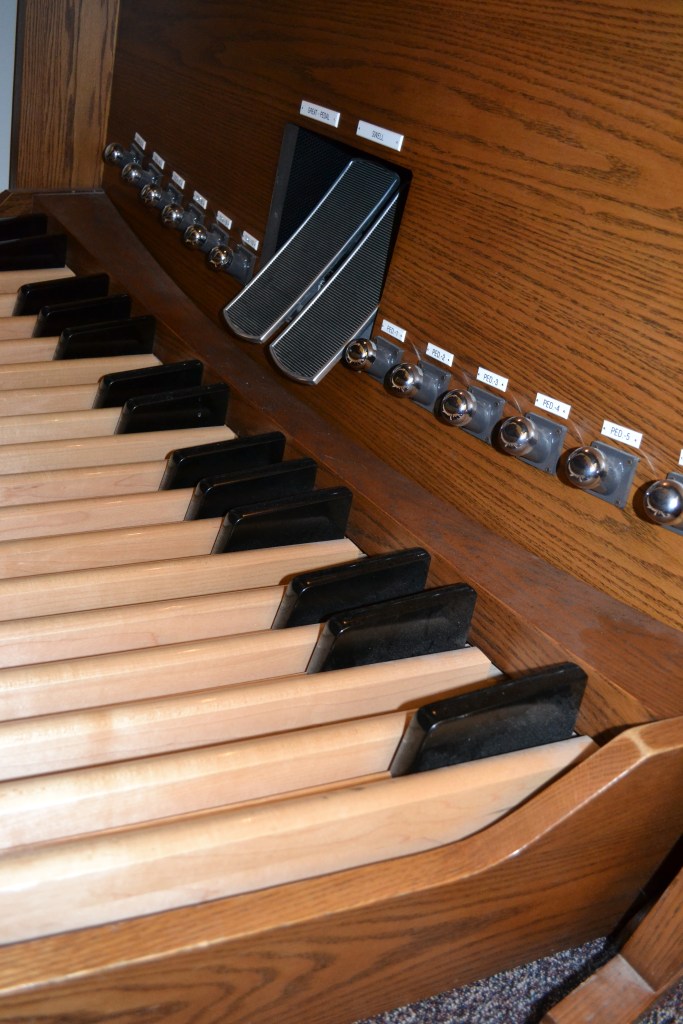
Take a look down at your feet and you should see something that looks like this (above). Hopefully it will be labelled as well as mine! On the left is the volume control for the “great” keyboard and the pedals (the keyboard at your feet). Put your left foot on it and push it with your toes. It should move, and when it does, you’ll see an indicator near the right side of the great keyboard that the volume is adjusted.
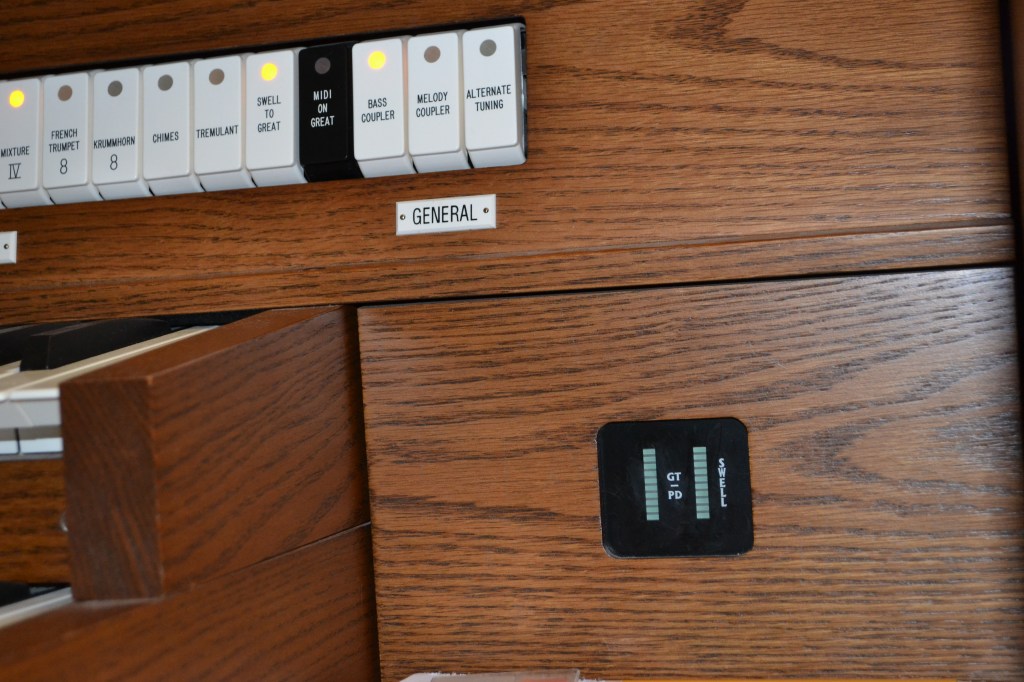
For most hymns, I like to see 3 little lights light up on this volume indicator on the left side (where it says GT/PD) when I’m playing for the congregation, and usually volume all the way down (push on the same control, this time with your heel, until there are no lights showing on the panel) for prelude and postlude.
Step 5: Okay- so go ahead and adjust your volume. Don’t worry- if it’s loud it’s extra fun! (as long as there aren’t meetings still going on that you will disturb!), and play on the keyboard. Try playing a hymn or other songs you know (nothing with inappropriate content, but fun songs are appropriate to try out). Try different settings and volumes for the great keyboard. Have SO MUCH FUN!!! When you’re ready for more, keep scrolling down on this page and I’ll teach you the next steps!!
Step 6: (Spend as much time as you need on this step!) This is where you get to feel like a real organist! Don’t worry about the foot pedals- rest your feet on the wooden piece under the bench. Set the organ (your choice on setting). Try playing Nearer My God to Thee on the organ! Can you play it all the way through? Do you need to work on spider fingers or does it come pretty naturally to you? Are you surprised that it’s not as hard as you thought? You are just playing on a keyboard, after all! Practice this until you can play through the hymn without stopping. You’re doing it! You’re playing the organ!! Go you!
Step 7: Now it’s time imagine what it would feel like to play in church. Start by pretending you’re going to do the prelude by adjusting the volume low, setting the organ (just choose a few buttons on the great panel), and playing slowly through the entire hymn without stopping and going back to fix things. Do it a few times if you’d like. Here’s a crazy newsflash: once you’re comfortable playing “Nearer My God to Thee” straight through on the great keyboard and can set the organ for prelude (see below), you could be ready to play it for prelude on a Sunday! If that sounds terrifying, know that you don’t have to rush it, but also most organists are about where you’re at! It doesn’t take years to get to the point of playing up there- just a little courage and faith that your offering is enough! :).
Step 8: Now pretend you’re playing for the congregation: turn your volume up, set the organ (your choice!), and try to keep a consistent tempo. (Remember- when the congregation is singing, there’s no going back to fix notes! The hymn marches forward and you have to drop notes if needed, and jump back in if you get lost.) It’s okay if that feels a little bumpy right now- you’ll get better at it!
If you’re feeling confident, add a chorister! Tell them to keep it nice and slow, and try keeping up with a consistent tempo. Even though it’s temping, don’t tell the chorister to follow you. They are leading you, not the other way around. I’ll address this concept again below in the “Organ Training – Part 12” video.
Here’s a video that talks you through these steps a little bit!
My organ setting for prelude:
Swell: 2, 5 (counting from left to right, the 2nd button and the 5th button from the left)
Great: 6, 13, bass coupler (counting left to right, the 6th button from the left, 13 which is swell to great- the settings on the swell now are used on the great keyboard as well, and the bass coupler which is explained below.)


Let’s have a little fun learning about what that keyboard at your feet is for! This is a really fun part- so don’t skip it and get too serious!

It may be helpful for you to know that MANY organists in the Church of Jesus Christ of Latter-Day Saints aren’t using the foot pedals (the keyboard at your feet). It’s super fun and technically necessary as an organist, but adds a whole new level of complication and practicing needed. I can do it, but I only use them if I’m able to get ample practice time before playing in church. It is used for the bass notes- what we normally play in the lower part of our left hand. Those who play foot pedals do the bass with their feet, tenor with their left hand, and soprano and alto with their right hand.
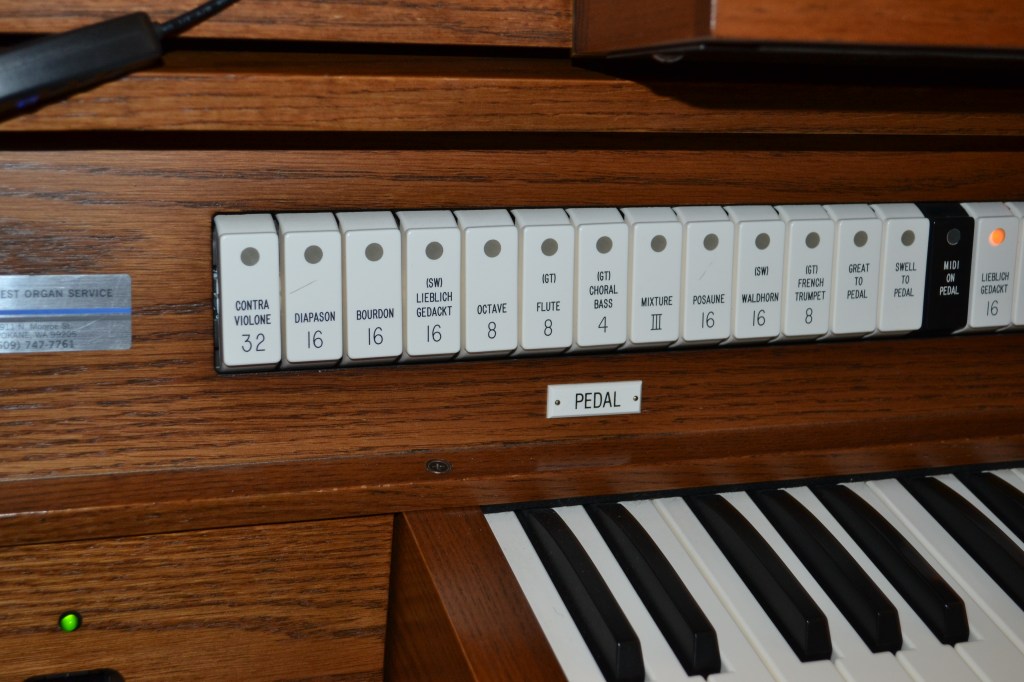
Step 9: Play around with the foot pedals by setting the pedal panel (push some buttons on the panel- to the left of the swell and great ones we’ve been talking about) and using your toe and heel, play different notes. Organists move up the scale with their feet from toe, to heel, to toe, etc. They are very meticulous about choosing which foot and which toe or heel to play each note, and note it on the music with o’s and upside-down v’s. For now, have a good time playing around with those deep gorgeous notes!
When you’re done playing, try just sitting on the last chord of “Nearer My God to Thee”- playing the bottom note with your left foot and the rest of the notes with your hands. OOOOH fun! :).
Step 10: Time to choose 2 other hymns for your 3 hymns “set.” If you plan to play on a fast Sunday for your first time, you’ll only need 3 hymns. Otherwise you may need 4. One of your hymns has to be a sacrament approved hymn (for the Sacrament portion of the meeting). You can find a list in the back of the hymnbook under the topic “Sacrament” for more ideas. Here are some suggestion:
Opening or Closing Hymns: *116- Come Follow Me, 129- Where Can I Turn For Peace, 125- How Gentle God’s Commands
Sacrament Hymns: *196 – Jesus Once of Humble Birth , 180 – Father in Heaven, We Do Believe or 194 – There is a Green Hill Far Away
*Recommended as the easiest option
Once you have chosen your three hymns, practice each of them on the organ several times.
I use two different main settings for congregational hymns. I call them “Sacrament” (for more subdued hymns) and “Rejoice” (for more exhuberant hymns). Here are the settings. (I list pedal settings as well as bass coupler. If you’re not using the foot pedals, use the bass coupler, but if you use the foot pedals, turn off the bass coupler.). I have prelude listed here with the pedals included.
Prelude:
Pedals: 3
Swell: 2,5
+0, +0 (volume on left and right side of volume panel. For this setting, I have no volume on.)
Great: 6, 13, BC
Rejoice:
Pedals: 3,5
Swell: 2,3,6,9
Great: 3,6,8,13, BC
+3, +5 (left side shows 3 bars lit up, right side shows 5 bars lit up)
Sacrament:
Pedals: 3,5
Swell: 2,3
Great: 3,5,6,13,BC
+3, +5 (left side shows 3 bars lit up, right side shows 5 bars lit up)
What about all the other buttons on the organ???? Well, for now, we’re just going to ignore them. Many of them are presets- meaning that we can push one button to get back to the setting we had put on the organ the day before. Unfortunately, this doesn’t work super well when several different people are using the organ on a regular basis. You can end up getting surprised (not in a good way) when others reset the presets for their settings. I prefer to just set the organ day of so I don’t have to worry about that!
Step 11: Mark the hymns that you know with post-its or paperclips so you can easily flip to a next hymn during prelude without any trouble. We try not to totally let go of the organ keys during prelude and postlude to create total silence. Usually when changing hymns, I hold on to the last chord with my right hand while turning the pages with my left hand.
It’s time to walk you through each part of a Sacrament Meeting in the organist role. Are you ready?
Step 12: Let’s start with prelude!
Step 13: You have 2 jobs when the Bishopric member stands up and starts talking to prepare for the first congregational hymn.
#1- Adjust the Volume. You should be ready to go for the first congregational hymn when he sits down. Volume is the most important adjustment.
#2- If you do have a different hymn setting for congregational singing, you need to change your organ settings now. As a beginner organist, one strategy is to choose a congregational setting that you’re going to use for all 3 hymns, and also use it for prelude, just with the volume turned all the way down. This simplifies your first time being organist and I highly recommend you try that your first time. But if you really want different settings, now’s the time to change it :).
Step 14: Time to play the intro, opening hymn and the sacrament hymn!
Step 15: Set the organ for the closing hymn, play the closing hymn, postlude
Lots of jitters? Here are a few thoughts!
Thoughts about following your chorister:
And that’s it! Please reach out if you have questions or comments. I’m happy to provide additional support!
Love,
Laura
